DIY Twig Stove
This is a great idea to carry along backpacking. You don't need to carry fuel along and you don't have to build a campfire just to boil water. This wouldn't work well for warmth or comfort. It does however work great to boil water to eat or if you needed to boil drinking water.
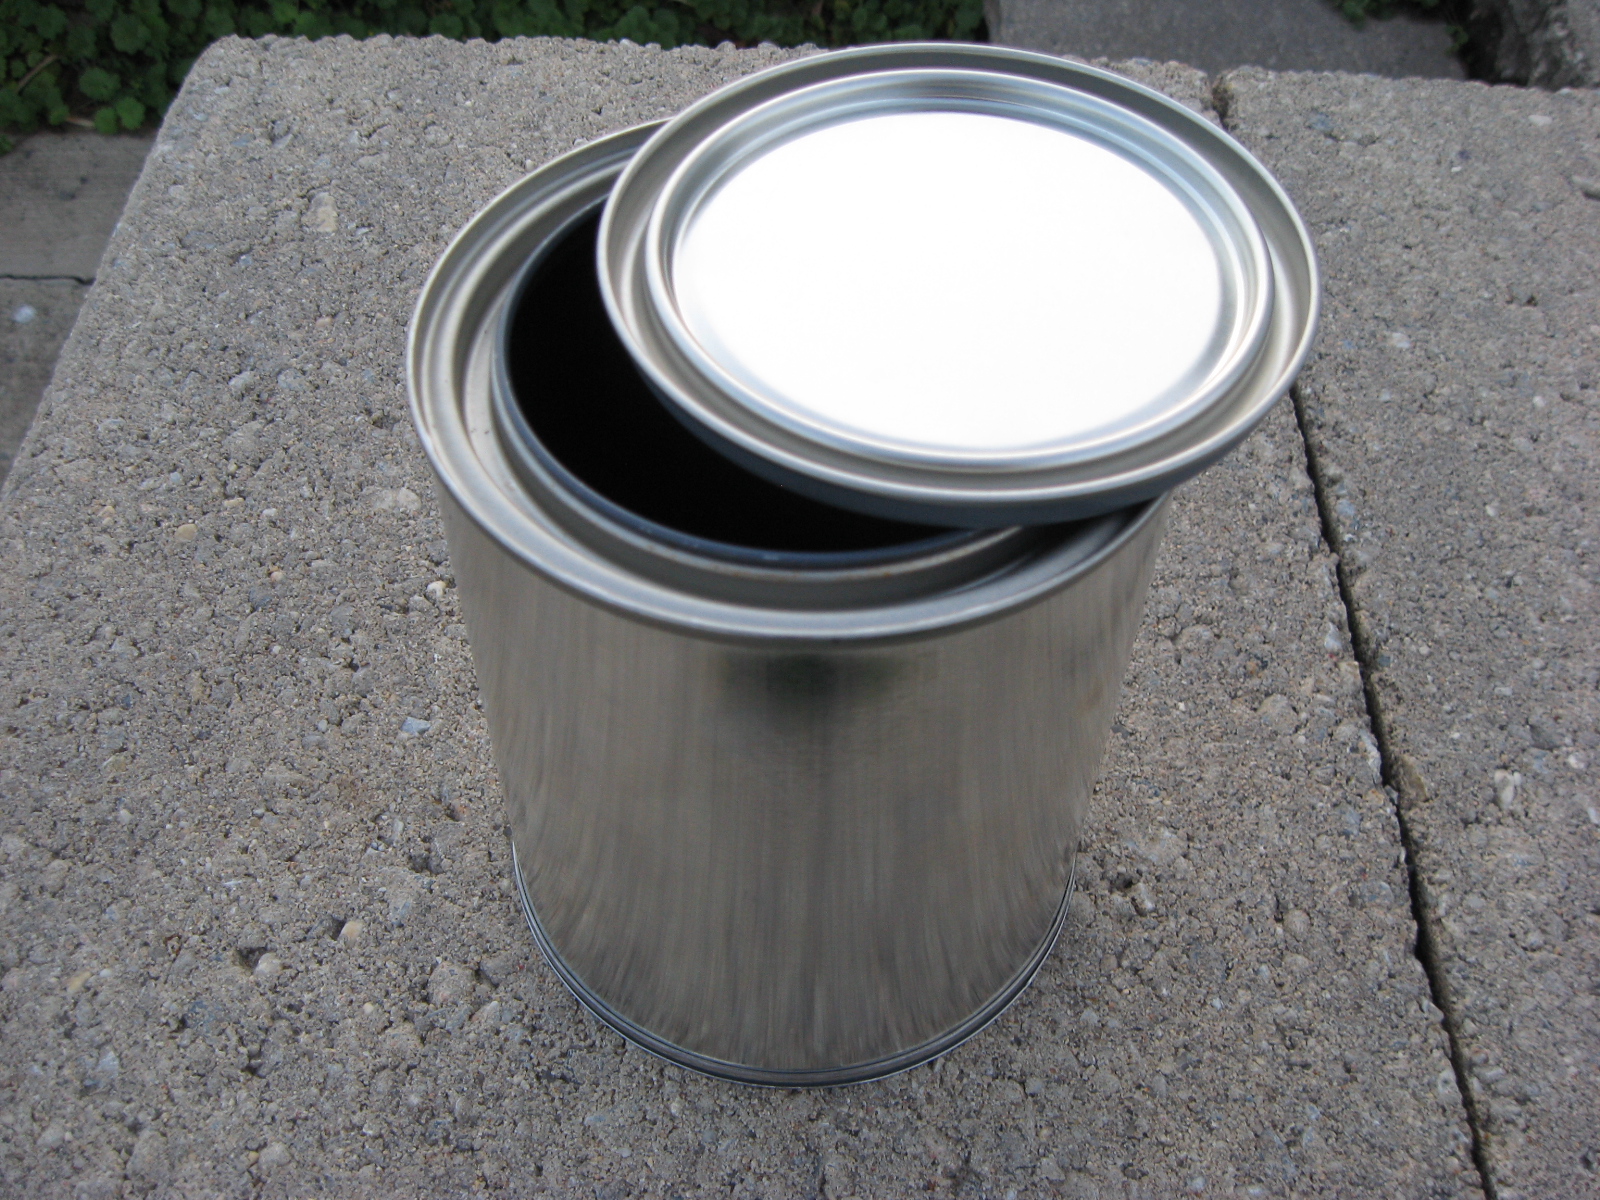 1 Qt. paint can from Lowe's
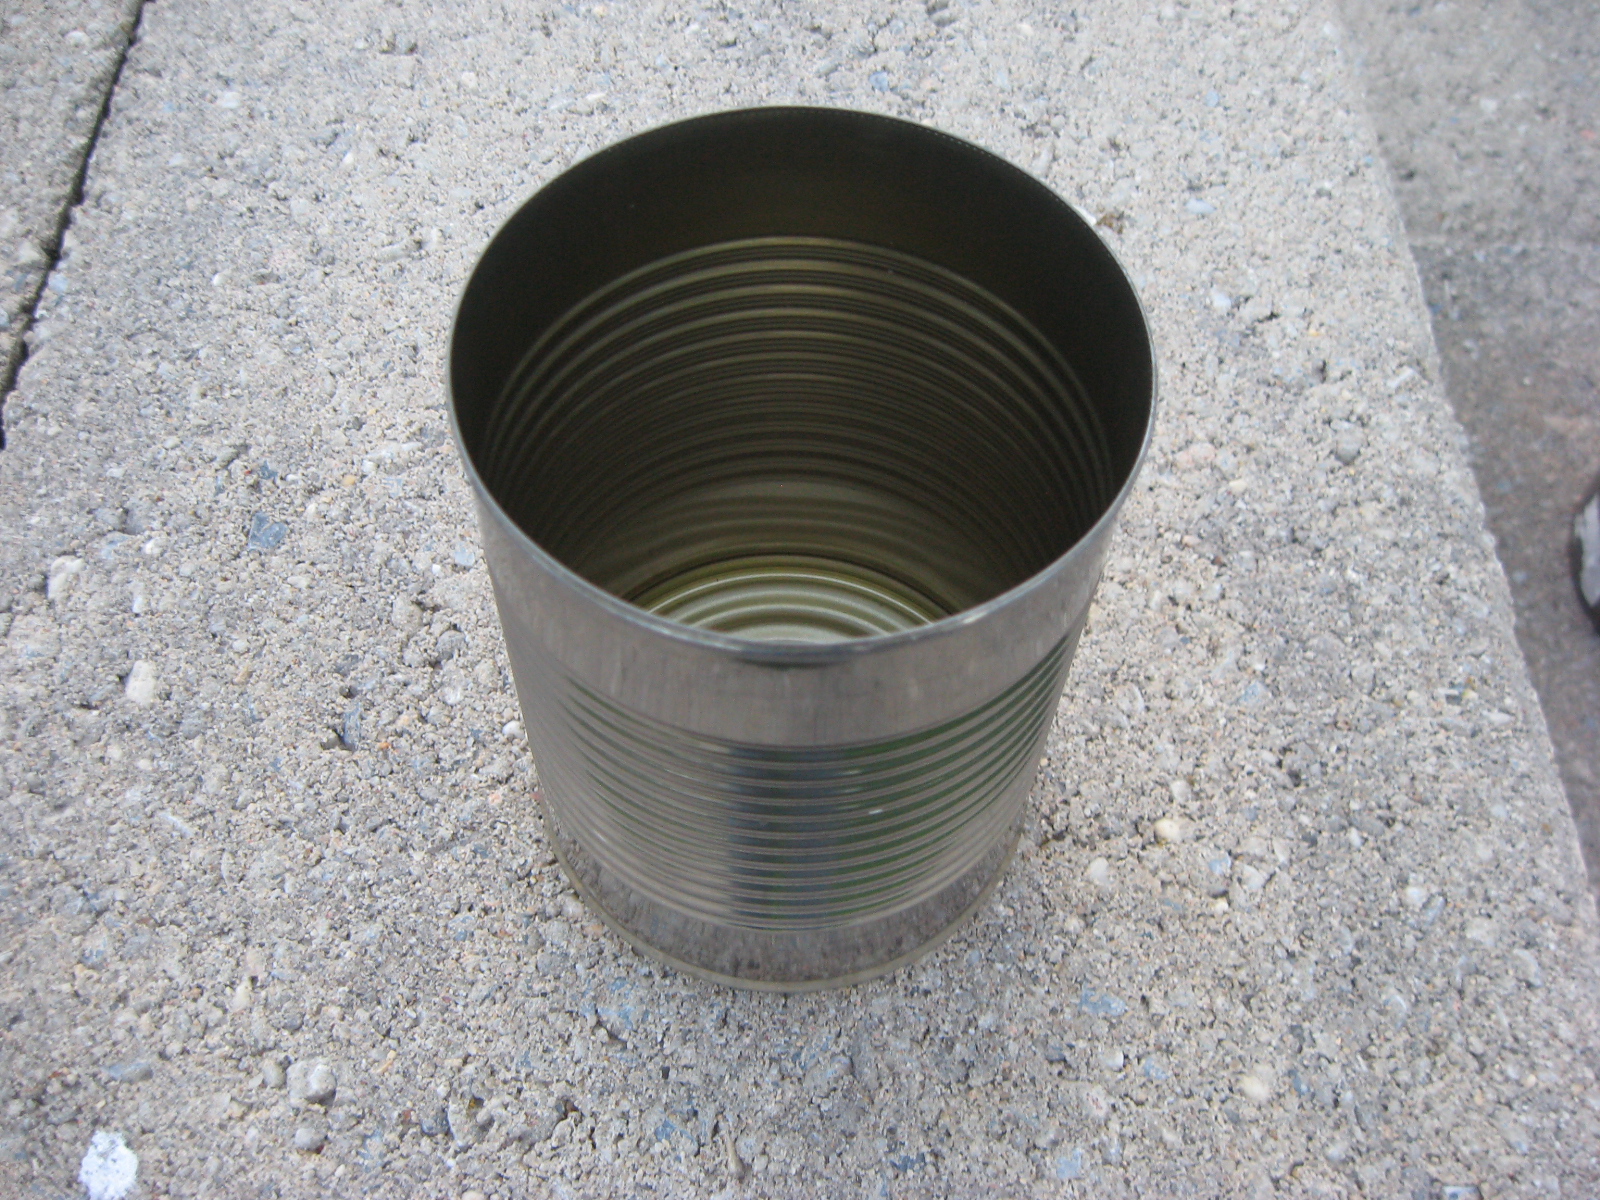 Progresso soup can, top removed using a safety can opener.
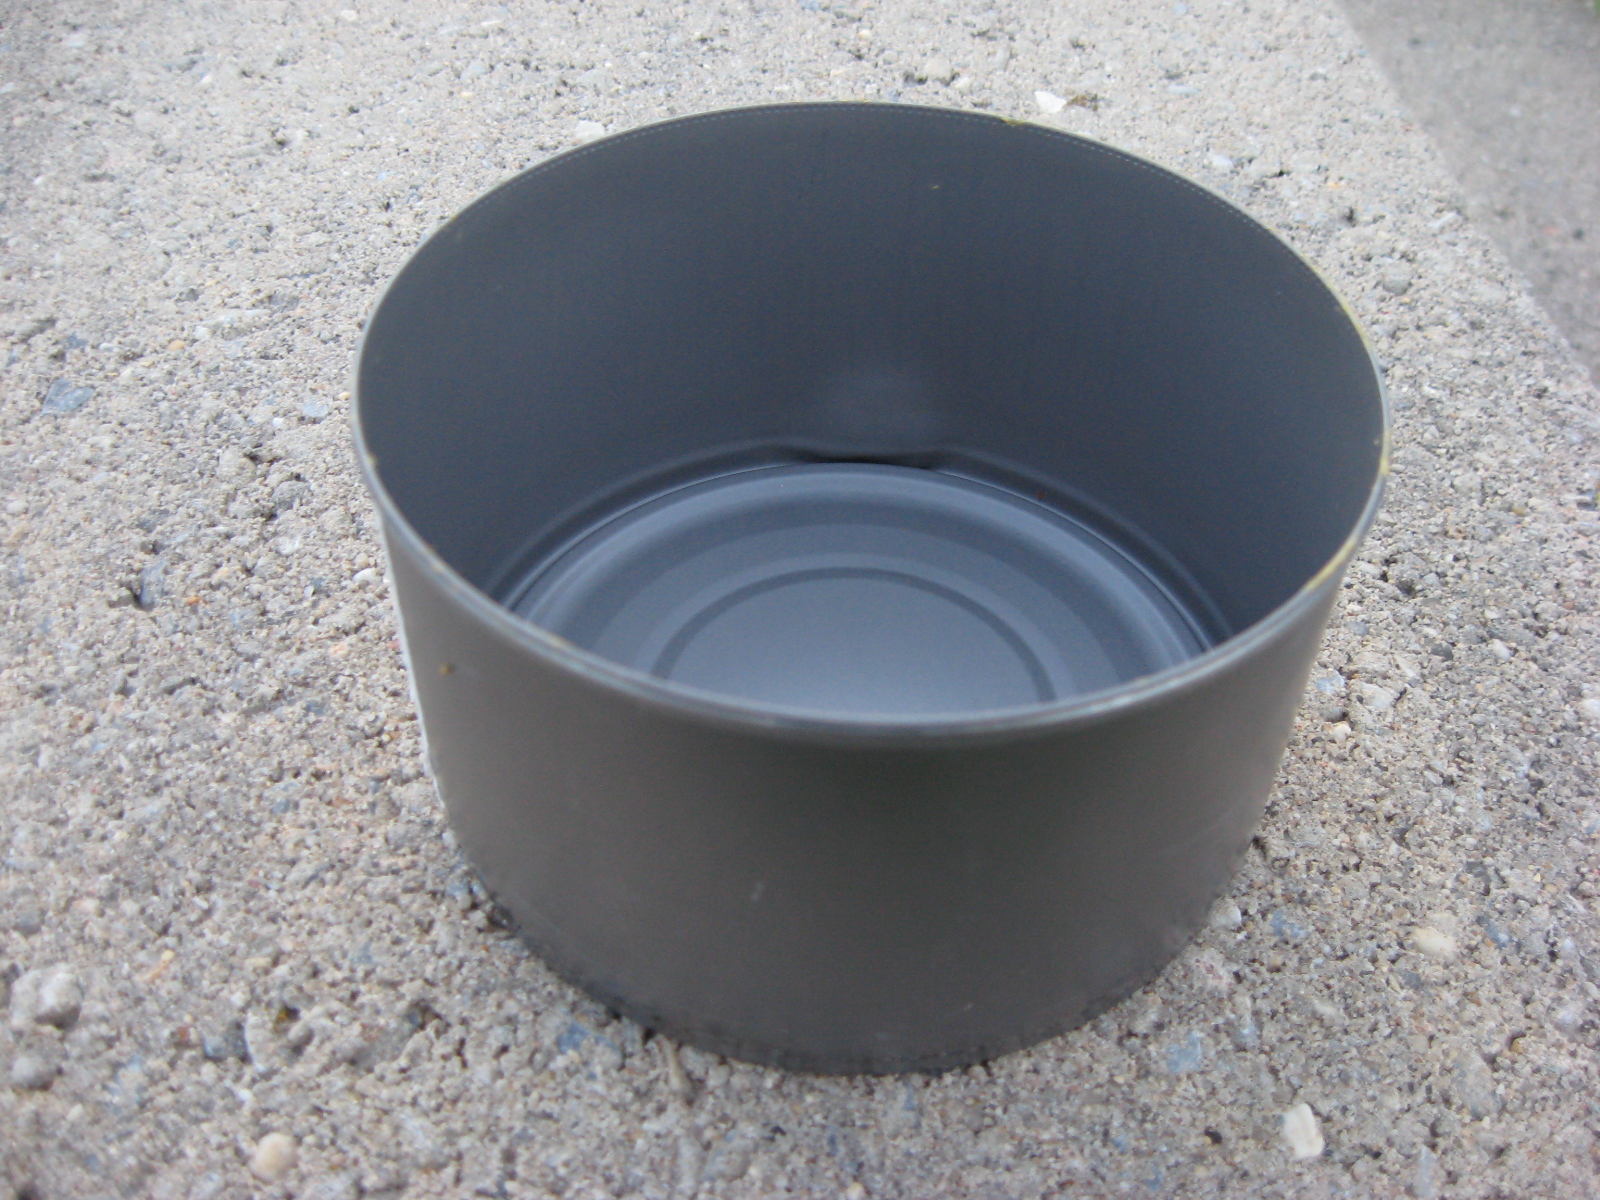 Walmart canned chicken can. This what you use to hold your pot up off the stove.
 The bottom of the paint can needs removed using a safety can opener. Next time I would drill the holes before removing the bottom.
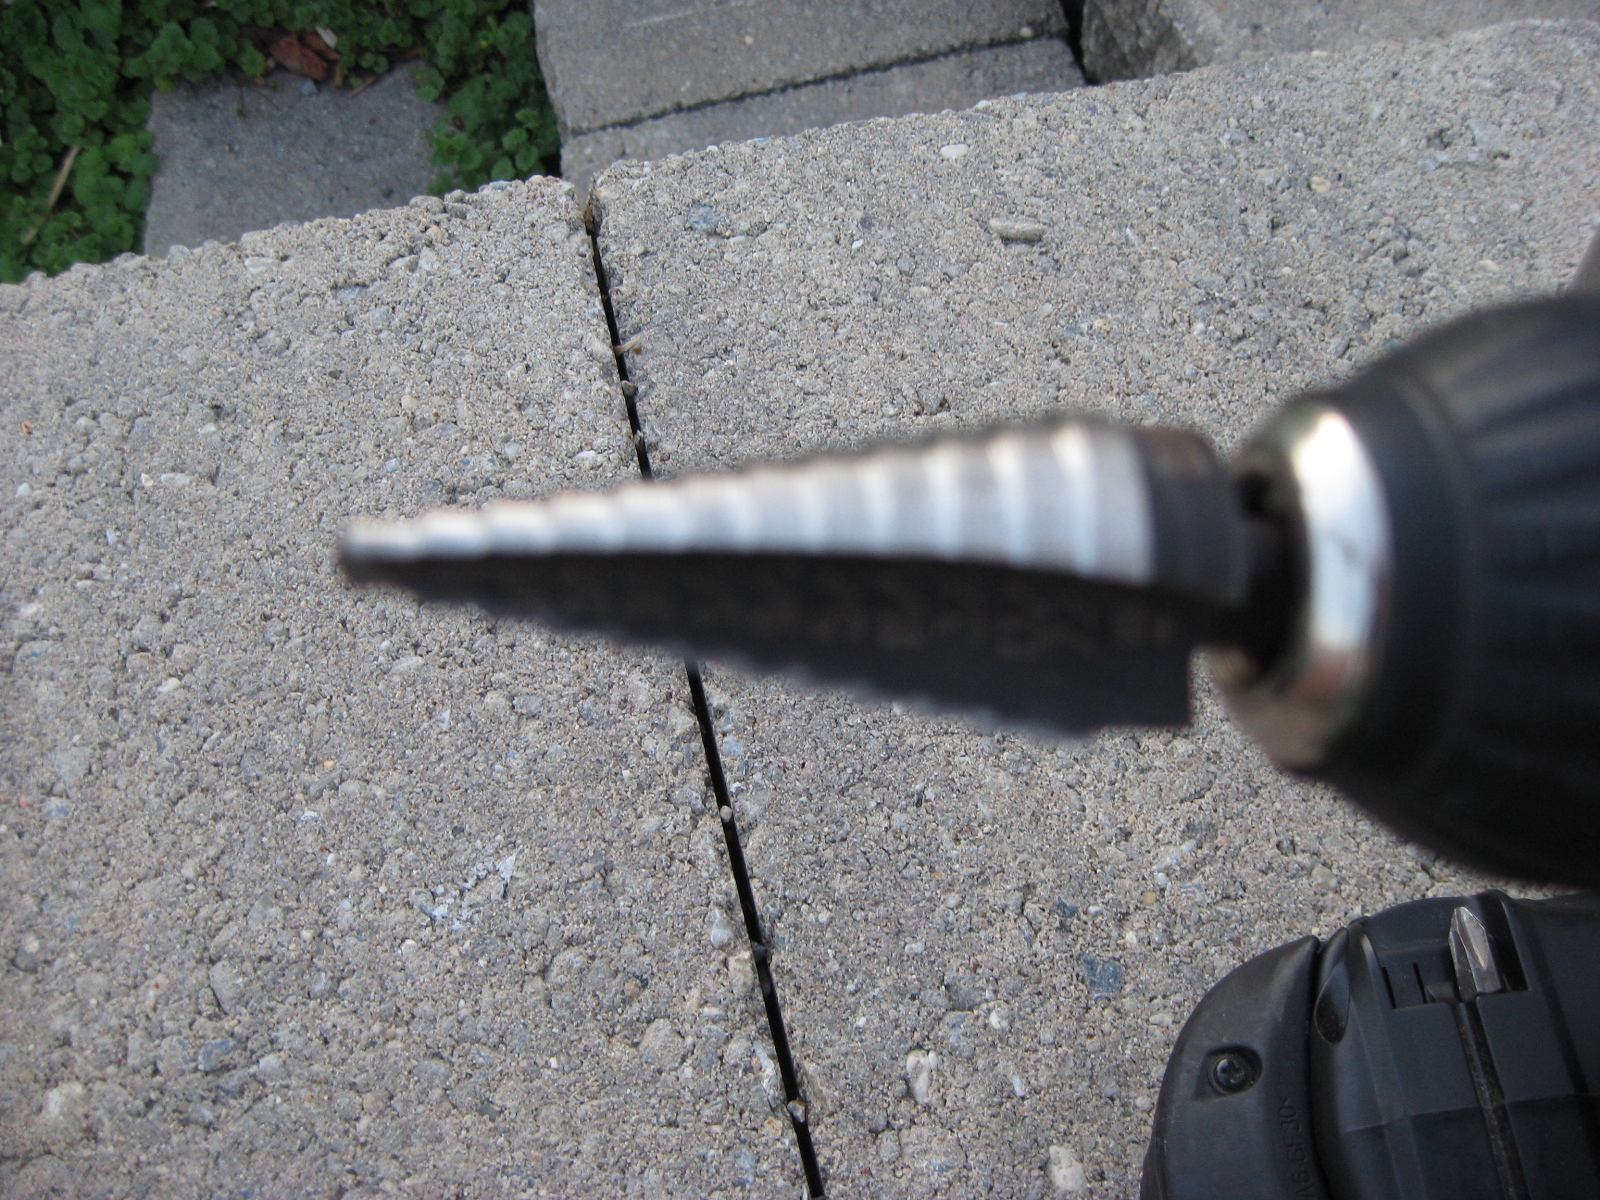 I used a stepper drill bit to drill all the holes.
 The Progresso soup can needs holes drilled around the top and bottom. I drilled 3/8 holes a little bit in from the ends. I don't know how much the distance matters. (I used the paint can bottom to try and give the soup can stability while I drilled the holes.)
 The paint can needs 4 holes drilled in the sides on the bottom end. I made these holes a little bigger 1/2 inch.
 If you use the Progresso soup can it will fit perfectly in the groove in the 1 qt. paint can. Center it in the bottom then give it an even push and it will pop right in and stay in place without any glue or JB Weld.
 Here is a closer look at the interior holes.
 After the first test burn I needed to drill 4 holes in the bottom of the soup can to increase the airflow inside the stove. (Red Dots) I drilled them spaced out between the 2nd and 3rd rings. I don't think it matters too much, as long as they are spread out.
 Here it is with the parts assembled. The paint can lid will fit back on and seal up the stove for transport. If you used a safety can opener the bottom will fit back on the paint can also, but it will be flimsy and will bend easily. That's what happened to mine and it won't fit on anymore.
 Some people use a piece of chicken wire on the bottom of the soup can to keep the twigs up off the bottom. I didn't want to buy a whole roll of chicken wire, so I used one of these.
 I used tin snips to cut it to fit inside the soup can. If you remove the soup can from the paint can then add the standoff, you can make it the same size as the interior of the soup can. It won't fit through the paint can opening otherwise.
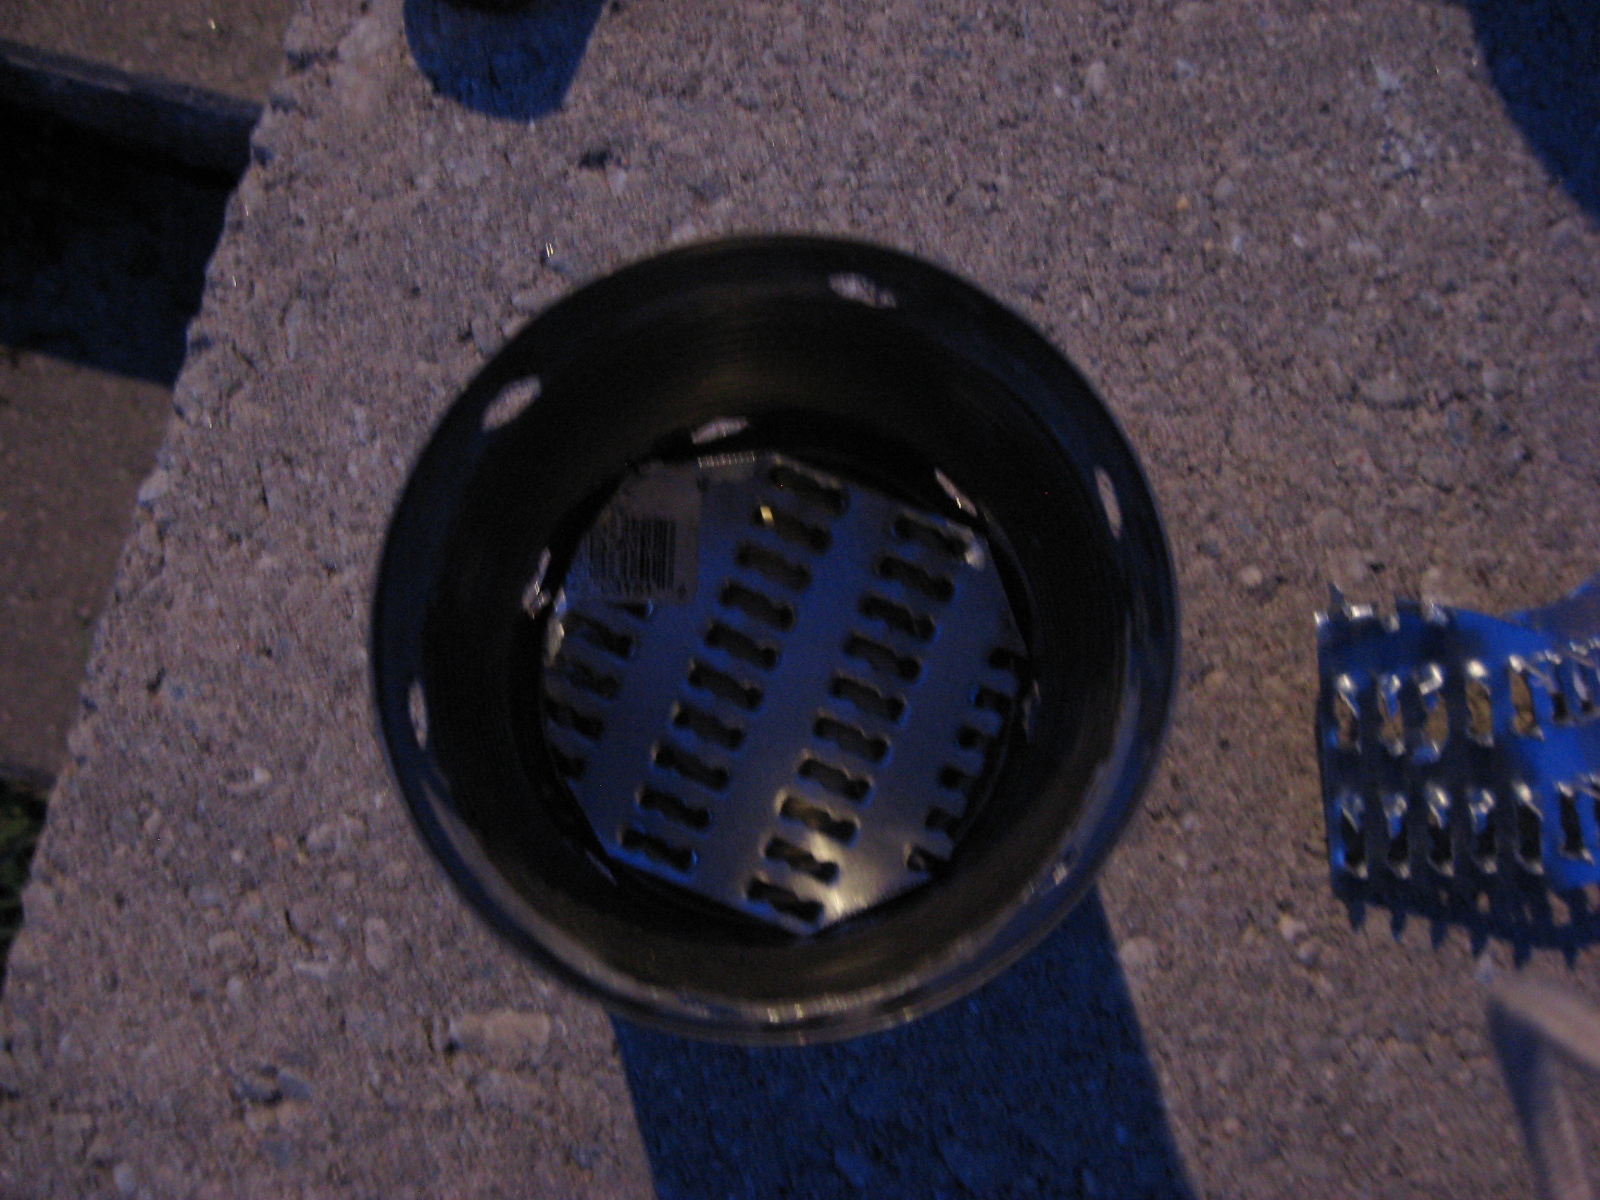 Here it is inside the soup can.
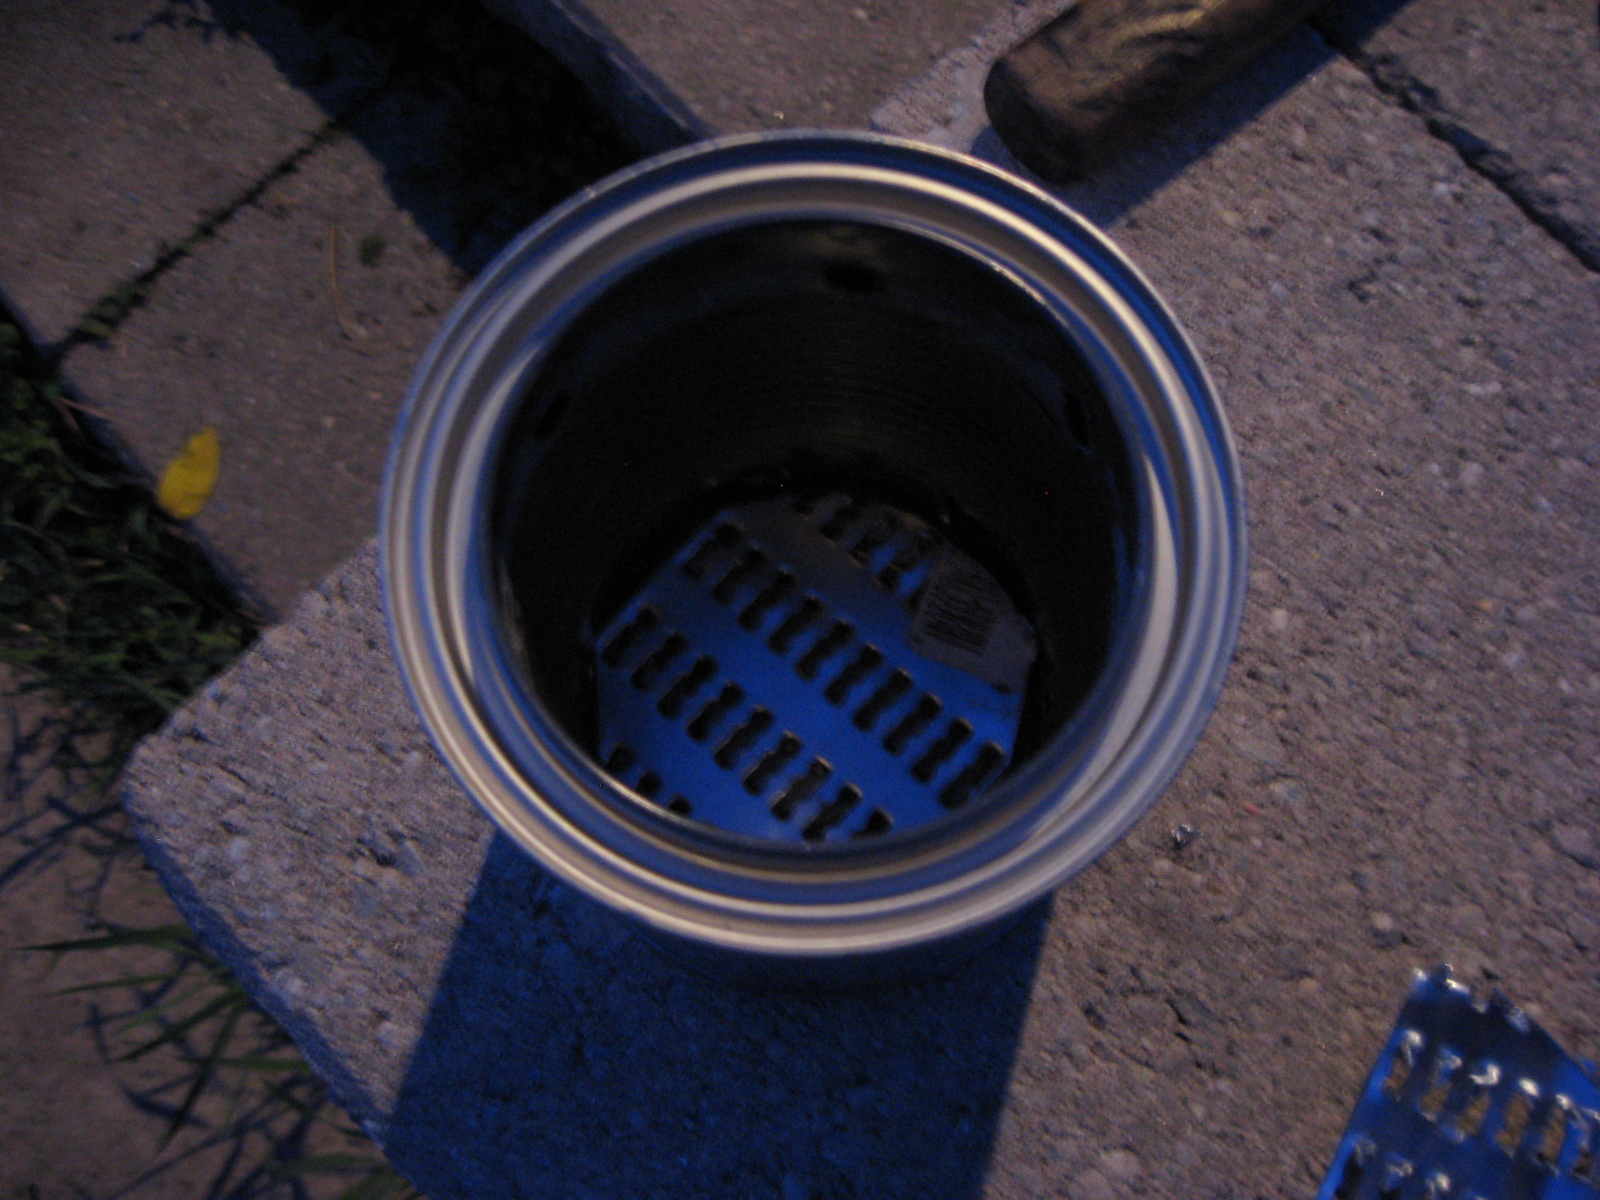 Here are the stove pieces assembled.
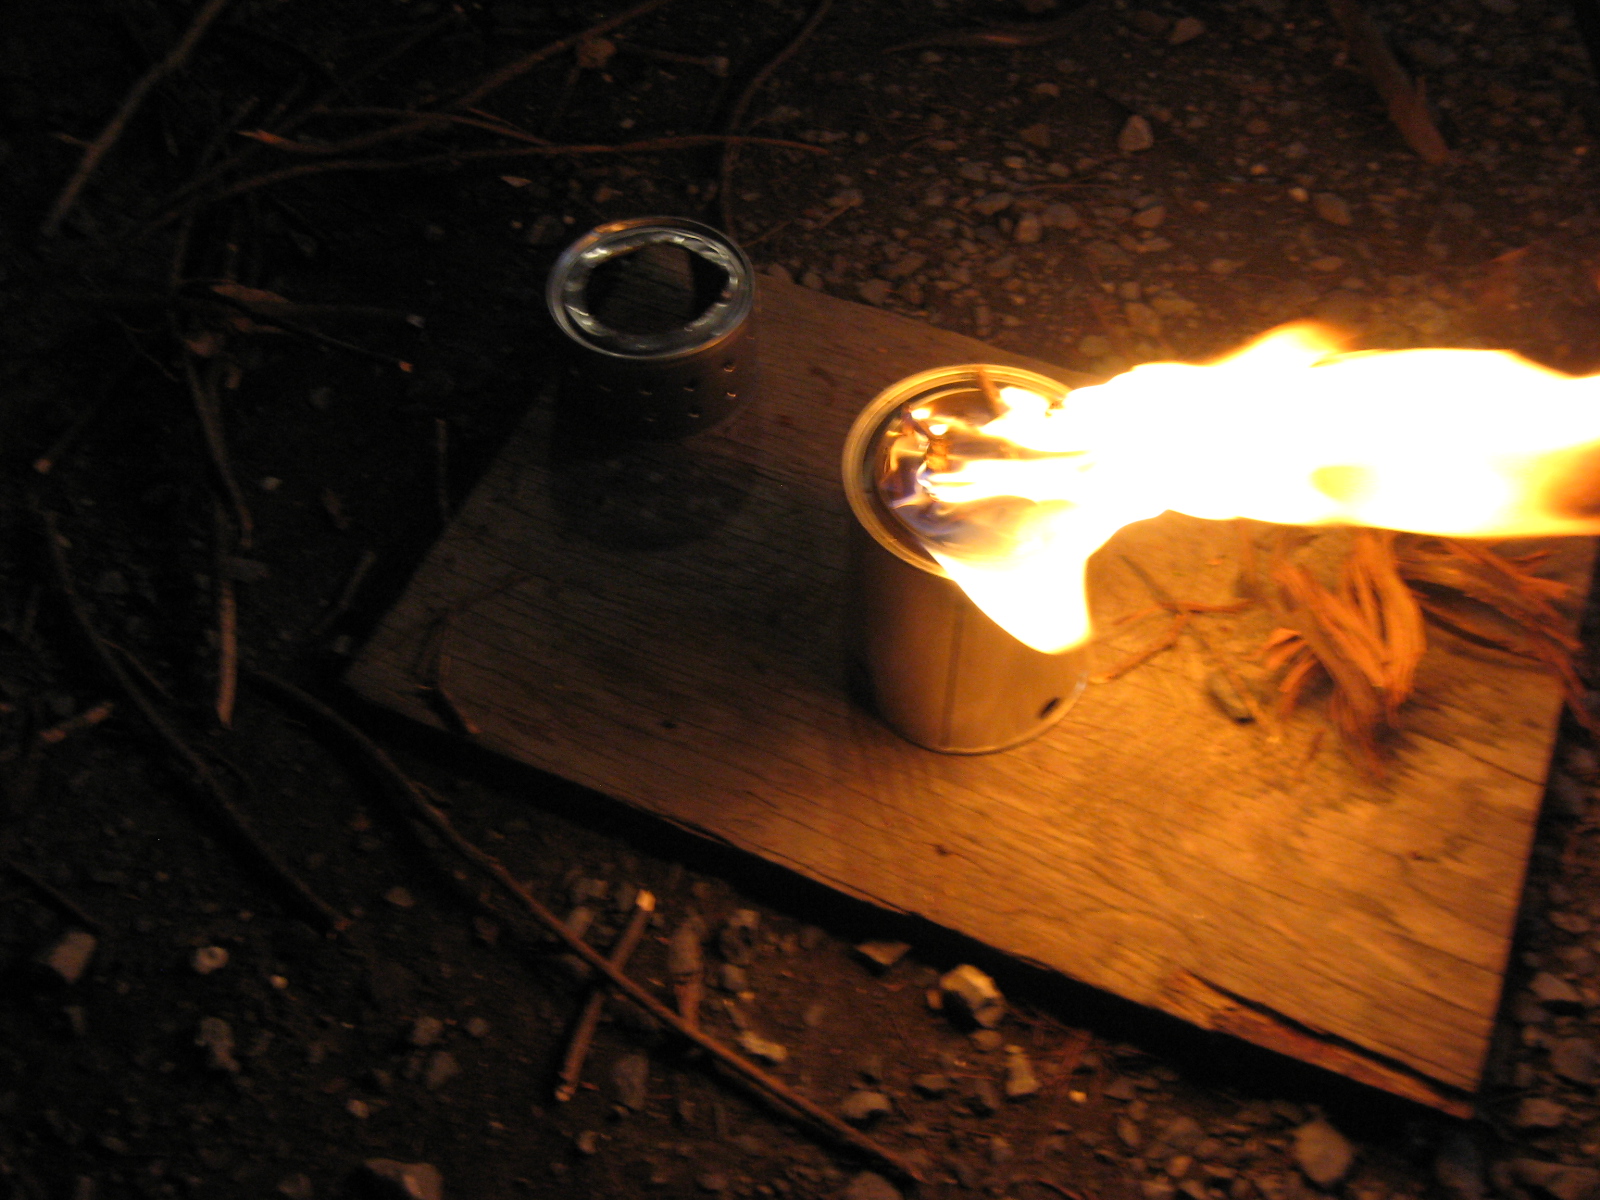 Here it is lit for the first time.
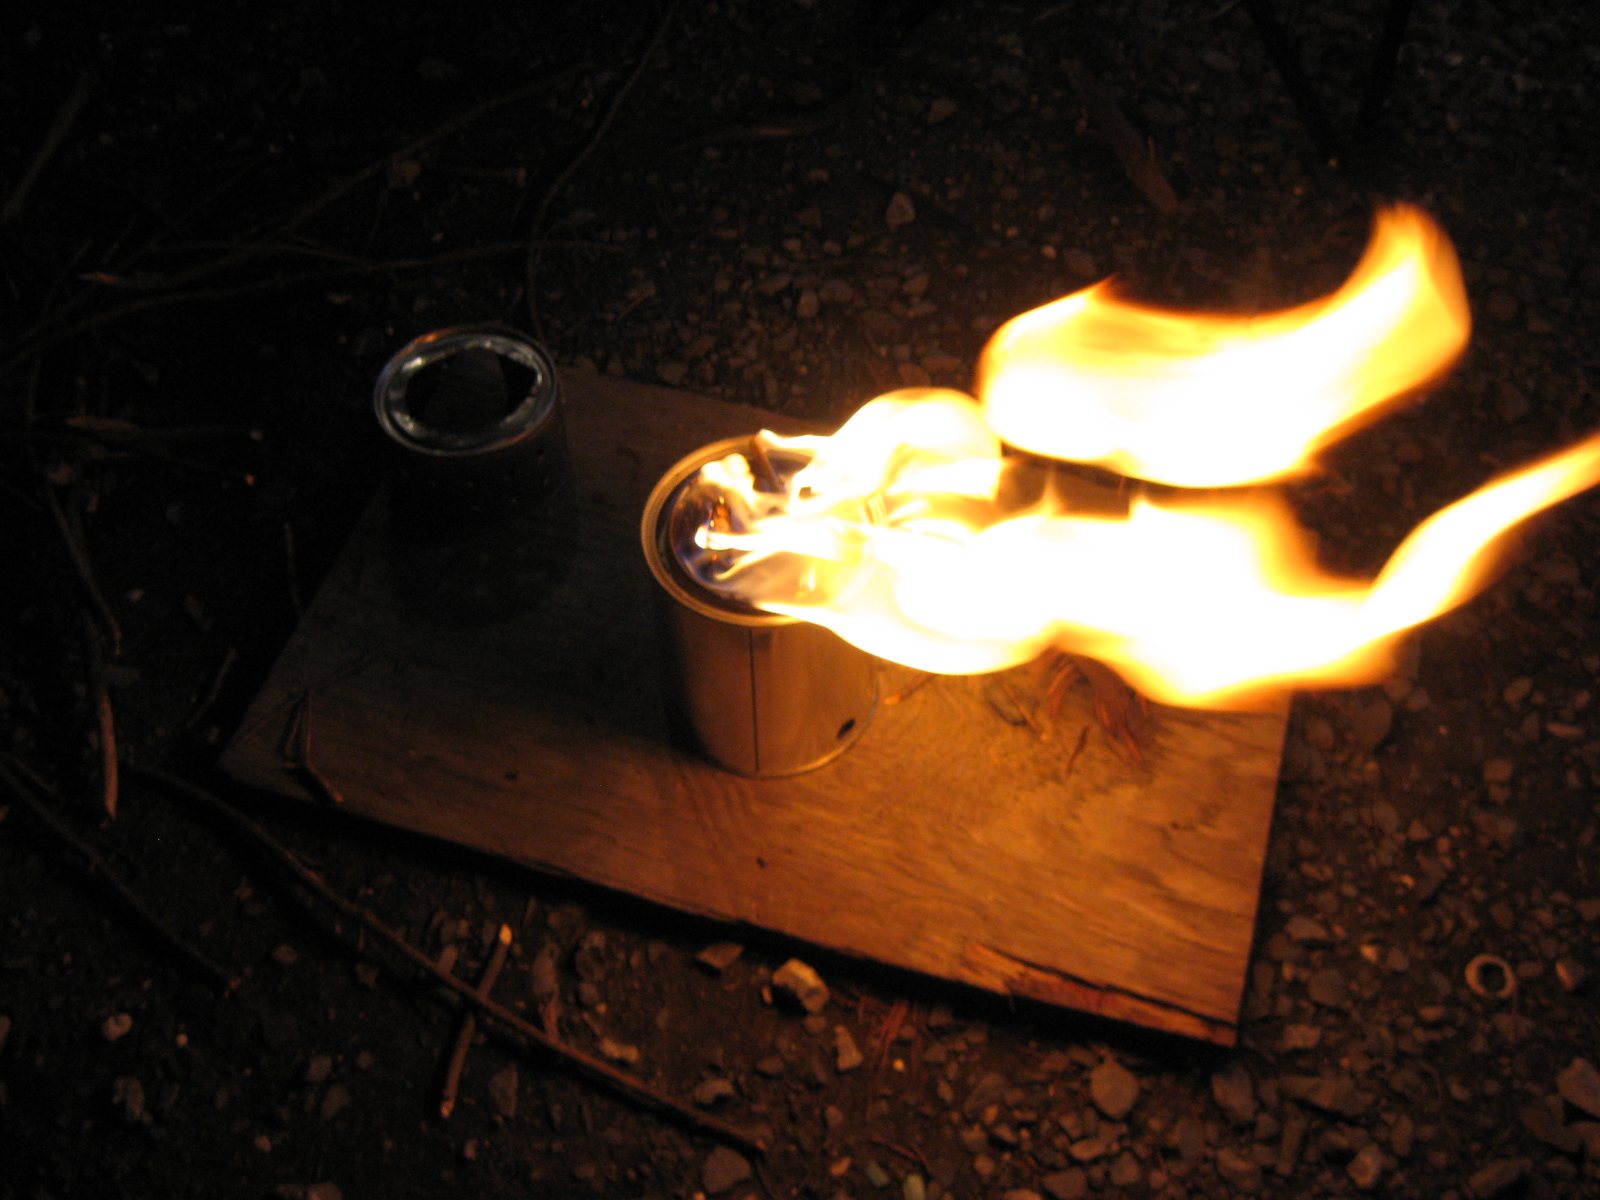 You should let it burn for awhile the first time to get any chemicals burnt off the parts.
 Here it is with the pot holder on top. (I forgot to take a picture of the holder.) You have to cut a slot in one side so you can feed more twigs in to keep the fire going. You also drill holes all around it. I'm not real happy with how sloppy I did this part. I may end up just remaking.
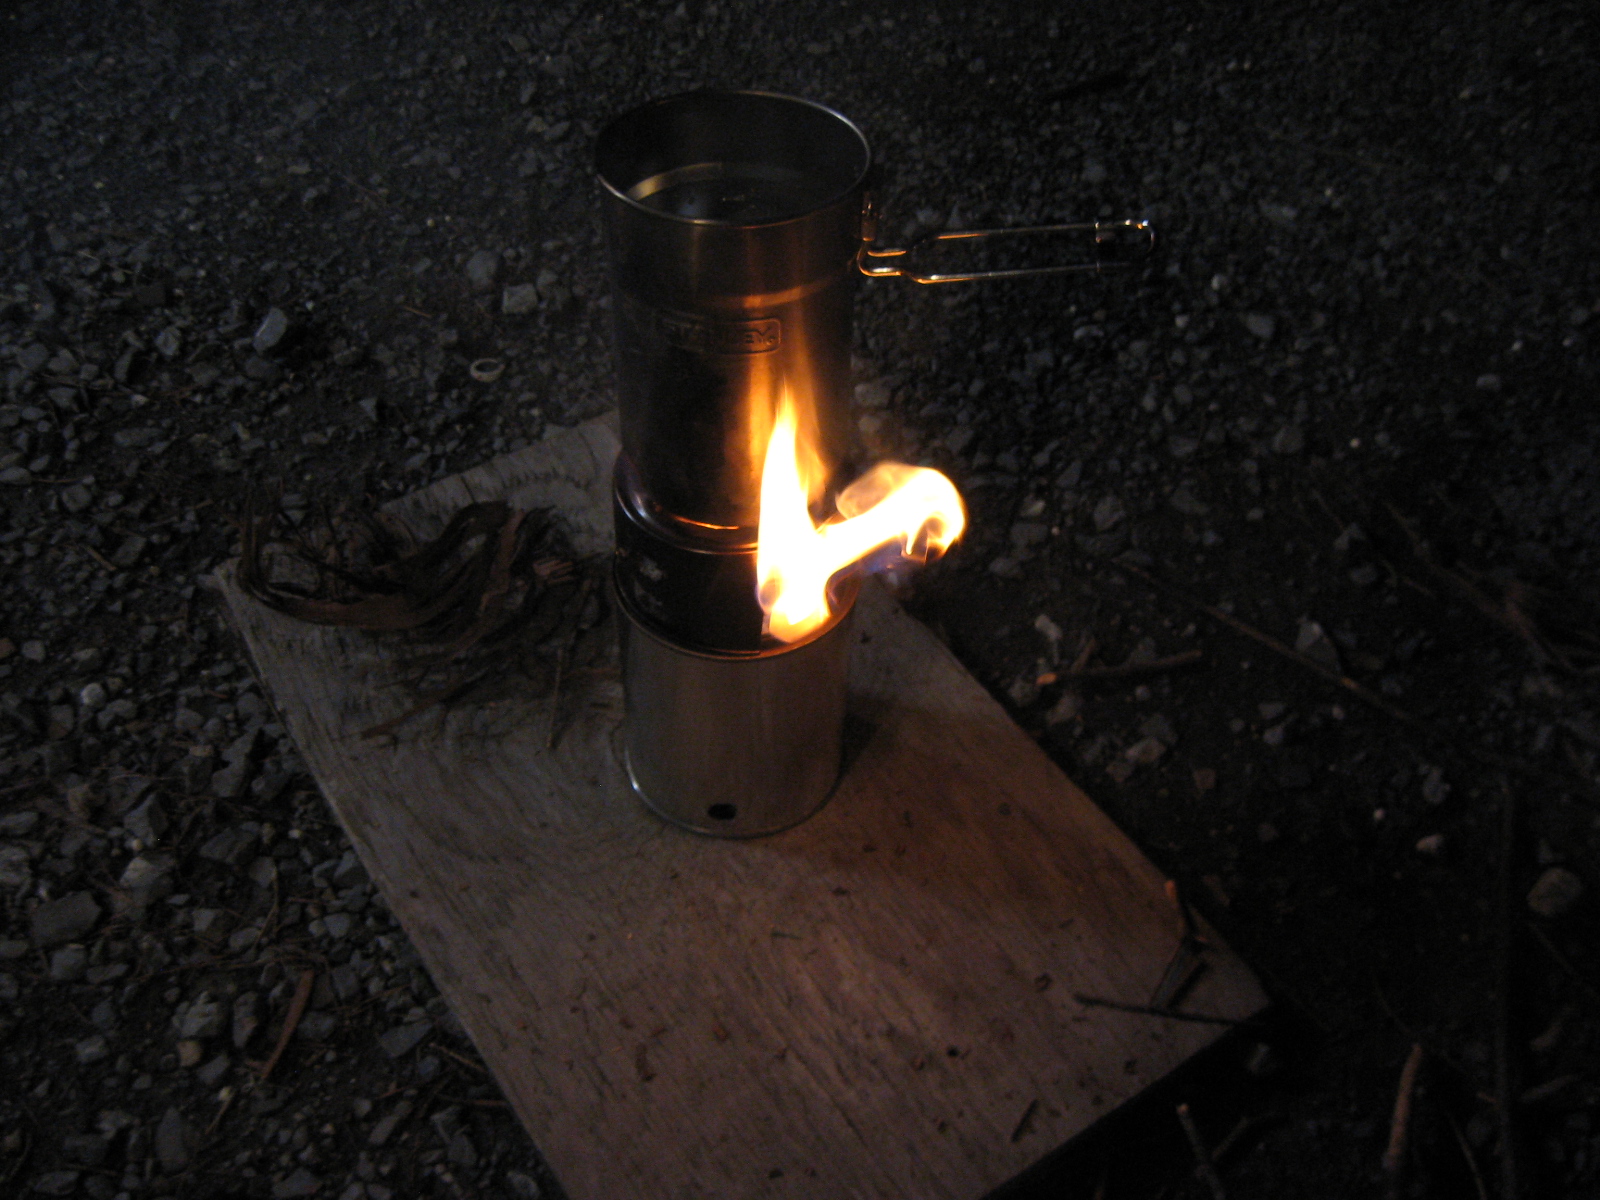 Here is the finished product with a pot on top. The pot ring also fits nicely in the bottom of the paint can, so everything is self-contained.
-
Recent Articles
4/20/2020 1/4/2016 12/31/2015